

Flutter: Pop up menu list view
You all have seen the app where there is a popup menu at the end of the list view item or in the grid view item. There could be possibly some more examples and everywhere the logic is the same. You get a pop-up menu and when you select that the action gets applied to the selected item.
In this article, you see a simple but very useful example. Wherever we will need this kind of logic, you can learn from here and apply it in differnt cases. I tried to break this into smaller parts which will help you in understanding the core logic behind this.
Getting Started #
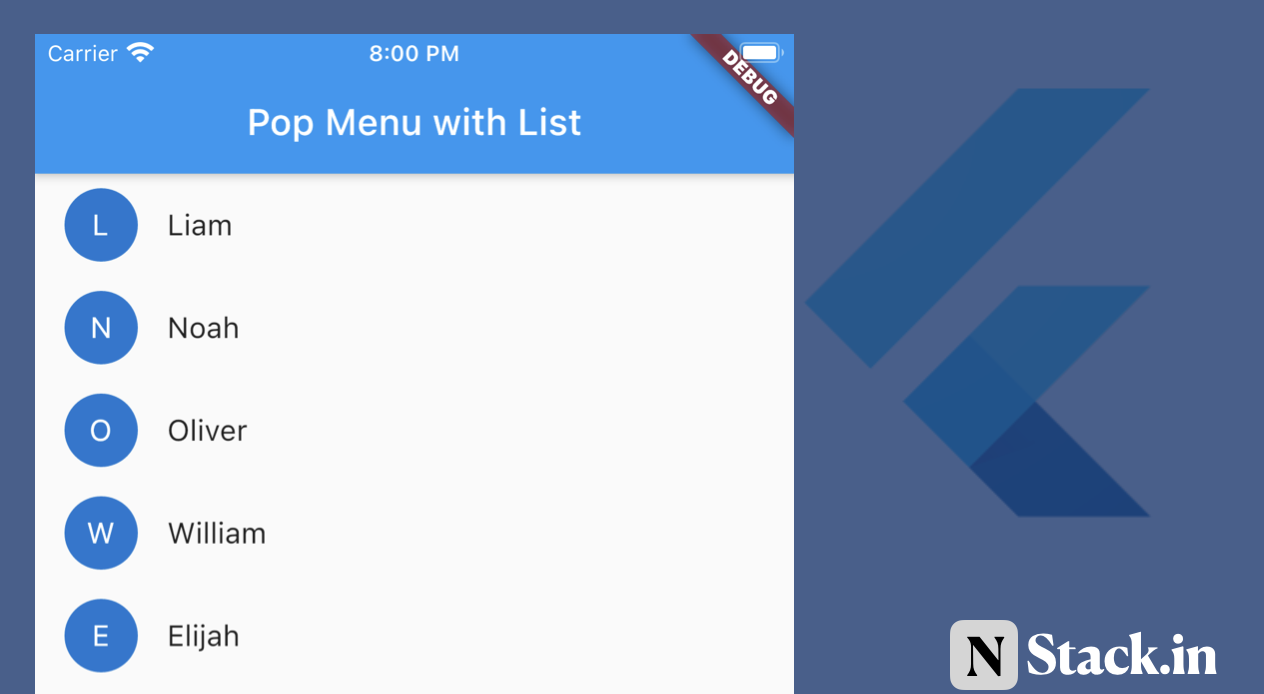
I am going to start with this point of code. Here, I have a list of names that are being used for building a list. We will use the ListView.builder for building the UI.
ListView.builder is a very common way of building a list of items or infinite scrollbar based on the list of data.
 main.dart
import 'package:flutter/material.dart';

void main() {
  runApp(MyApp());
}

class MyApp extends StatelessWidget {
  @override
  Widget build(BuildContext context) {
    return MaterialApp(
      title: 'Flutter Demo',
      home: HomePage(),
    );
  }
}

class HomePage extends StatelessWidget {
  final List<String> _names = [
    'Liam', 'Noah', 'Oliver', 'William', 'Elijah',
    'James', 'Benjamin', 'Lucas', 'Mason', 'Ethan', 'Alexander'
  ];

  @override
  Widget build(BuildContext context) {
    return Scaffold(
      appBar: AppBar(
        title: Text('Pop Menu with List'),
      ),
      body: ListView.builder(
        itemBuilder: (_, i) {
          String name = _names[i];
          return ListTile(
            leading: CircleAvatar(
              child: Text('${name[0]}'),
            ),
            title: Text('$name'),
          );
        },
        itemCount: _names.length,
      ),
    );
  }
}
Adding Pop up for each list item #
As we have a list of items, now we want to show a pop-up with all the items.
PopupMenuButton is a widget, it does the exact same thing which we want. It will create an icon and when we will click on that it shows us the popup. Also when we will click any of the pop-up menu items it will call the callback listener.
class HomePage extends StatelessWidget {
  final List<String> _names = [
    'Liam', 'Noah', 'Oliver', 'William', 'Elijah',
    'James', 'Benjamin', 'Lucas', 'Mason', 'Ethan', 'Alexander'
  ];

  @override
  Widget build(BuildContext context) {
    return Scaffold(
      appBar: AppBar(
        title: Text('Pop Menu with List'),
      ),
      body: ListView.builder(
        itemBuilder: (_, i) {
          String name = _names[i];
          return ListTile(
            leading: CircleAvatar(
              child: Text('${name[0]}'),
            ),
            title: Text('$name'),
            // <Add>
            trailing: PopupMenuButton(
              itemBuilder: (context) {
                return [
                  PopupMenuItem(
                    value: 'edit',
                    child: Text('Edit'),
                  ),
                  PopupMenuItem(
                    value: 'delete',
                    child: Text('Delete'),
                  )
                ];
              },
              onSelected: (String value){
                  print('You Click on po up menu item');
              },
            ),
            // </Add>
          );
        },
        itemCount: _names.length,
      ),
    );
  }
}

There are some customization also which is very important. This widget solved a complete problem and replaces the multiple widgets.
- icon - We can update the icon which you are seeing for the popup menu item. This makes it an icon button and it will start behaving like an icon button.
- child - If you use then it will start acting like InkWell. You should use this when you want to make a button for a popup.
- onCanceled - When you open the pop-up and do not select any item and click outside. This can help you in knowing this
- offset - You can change the pop up menu button position using this property, not very useful but sometimes we need it.
Looking for Flutter Developer
Action onPop menu item selected #
When we will select any of the items from the popup the onSelected lister function will call. As you have seen above that we are printing some messages. You can find that in the console.
Let’s name our method actionPopUpItemSelected and there will be two parameters here.
- value - This will what’s the value of the popup item which gets selected
- name - Which name is associated with that popup menu item.
As we have two items in the popup, which have value as edit and delete. As we know the possible value now so we can easily define how what action to take when the edit is selected and what to take when delete is selected.
void actionPopUpItemSelected(String value, String name) {
    String message;
    if (value == 'edit') {
        message = 'You selected edit for $name';
        // You can navigate the user to edit page.
    } else if (value == 'delete') {
        message = 'You selected delete for $name';
        // You can delete the item.
    } else {
        message = 'Not implemented';
    }
    print(message);
}
Now just go you onSelected callback and call the method. This will start printing the message based on the item selected in the pop up.
onSelected: (value){
        print('You Click on po up menu item');
        // Call the method
        actionPopUpItemSelected(value, name)
    },
),
Full Source Code #
The final code has some improvements and you should always take care of this improvement. The improvement is very simple to hide the current SnackBar if showing.
 main.dart
import 'package:flutter/material.dart';

void main() {
  runApp(MyApp());
}

class MyApp extends StatelessWidget {
  @override
  Widget build(BuildContext context) {
    return MaterialApp(
      title: 'Flutter Demo',
      home: HomePage(),
    );
  }
}

class HomePage extends StatelessWidget {
  final GlobalKey<ScaffoldState> _scaffoldkey = new GlobalKey<ScaffoldState>();
  final List<String> _names = [
    'Liam', 'Noah', 'Oliver', 'William', 'Elijah',
    'James', 'Benjamin', 'Lucas', 'Mason', 'Ethan', 'Alexander'
  ];

  @override
  Widget build(BuildContext context) {
    return Scaffold(
      key: _scaffoldkey,
      appBar: AppBar(
        title: Text('Pop Menu with List'),
      ),
      body: ListView.builder(
        itemBuilder: (_, i) {
          String name = _names[i];
          return ListTile(
            title: Text('$name'),
            trailing: PopupMenuButton(
              icon: Icon(Icons.more_vert),
              itemBuilder: (context) {
                return [
                  PopupMenuItem(
                    value: 'edit',
                    child: Text('Edit'),
                  ),
                  PopupMenuItem(
                    value: 'delete',
                    child: Text('Delete'),
                  )
                ];
              },
              onSelected: (String value) => actionPopUpItemSelected(value, name),
            ),
          );
        },
        itemCount: _names.length,
      ),
    );
  }

  void actionPopUpItemSelected(String value, String name) {
    _scaffoldkey.currentState.hideCurrentSnackBar();
    String message;
    if (value == 'edit') {
        message = 'You selected edit for $name';
    } else if (value == 'delete') {
        message = 'You selected delete for $name';
    } else {
        message = 'Not implemented';
    }
    final snackBar = SnackBar(content: Text(message));
    _scaffoldkey.currentState.showSnackBar(snackBar);
  }
}
Conclusion #
I hope you learned something new today and this will be helpful to you. I also expect that in the future you will be able to fix this solve this kind of problem very easily.
Now, if you like it then share it with your friends, If you got a question then ask in the comments. If you are feeling lucky that you came to the article then tweet about this.
Thank You
 Tweet this article